Filmmakers have been using a clapboard for a long time. And it is still an essential tool on film sets today. In this blog, we will discuss the following:
- the two primary ways of using a clapboard to save time
- what you should write on a clapboard
- situations where you don’t have to use a clapboard
- if you should buy a clapboard or if there is a DIY solution
- some modern-day alternatives to using a clapboard can save you even more time
2. Why Use a Clapboard?
The two primary purposes of a clapboard are to
- assist syncing audio and video that is captured on set
- help the editor find shots quickly
Let us look at these two in detail to understand how you can use a clapboard effectively, and when you can not use one.
2.1 Using a Clapboard to Sync Audio
The basic rule of recording audio is to get the mics as close as possible to the source. The mics on the camera are always far away. Which is why it never sounds that good. When capturing an actor’s dialogue, a Lavalier mic clipped under the dress is the closest you can get the mic to the voice without being seen on camera. You use separate devices best suited for the job, a camera to capture the visual and an audio recorder, like a Zoom H6 (affiliate link), to capture the audio.
But when do you synchronise these two? You do that in post-production. Both are brought to the editing table or to the sound designer. The audio from the camera is replaced with better audio from the dedicated mic and audio recorder. Sounds simple, right? But synchronising two audio tracks is not as simple as you think.
Let’s say it is a wide shot. The actor is standing very far from the camera. The audio the camera captures will be delayed because of the distance. If it is a large room, the far-away camera will also capture the echo. When you put together the audio captured just beside the mouth, with the audio captured far away, nothing will match. That is why you use a clap.
2.1. 1 Using the Clap
When you look at a waveform of a clap in the editing table you will see a very sharp spike. This sharp spike will be recorded on both the camera as well as the audio recorder. Using that sharp spike in the audio waveform you can synchronise the audio tracks. If it were not for that very sharp spike, it will be difficult.
Now if you are shooting in a large space with a lot of echo then you have to make sure that the camera and the audio recorder capture the clap and not the echo. For that, you will have to move either the camera to the actor or the actor to the camera, roll audio and camera, record the clap and move the actor back to their spot and cut out the unnecessary portions in the edit.
Another situation is when you are doing a multi-cam recording. Each camera is recording a different audio and a different video track. You can use that same sharp spike in audio to synchronise all the video and audio files.
2.2 Using a Clapboard to Edit Faster
The other purpose of having a clapboard has to do with what is written on the board.
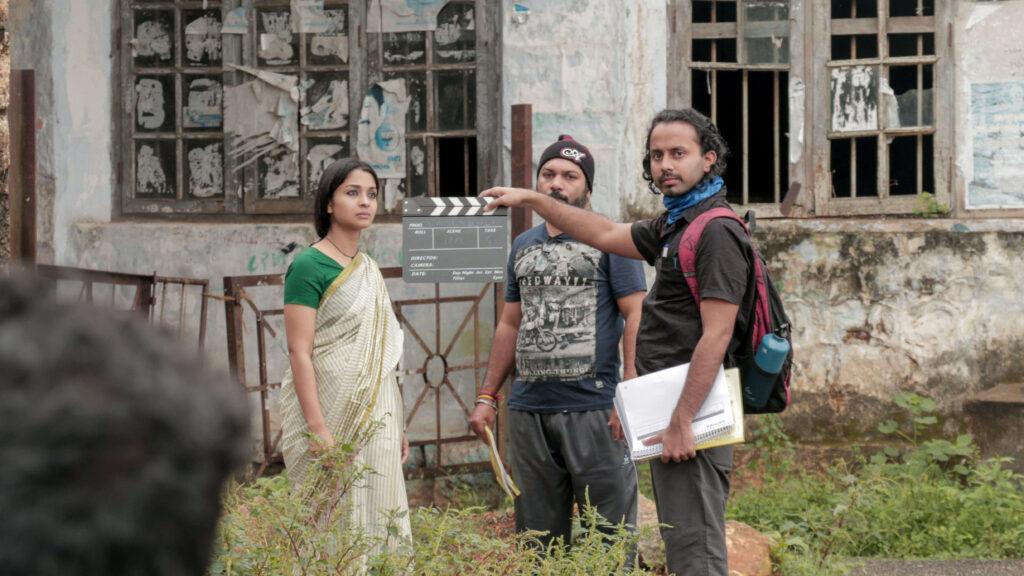
The clapboard is brought into the frame when a shot is about to be taken. Usually, the assistant director or the assistant cinematographer does this in our industry. On the clapboard will be written some details such as the scene number, the shot number and the take number. When the camera starts rolling the details written on the clapboard will be the first frame it records. The clapboard operator might call out the details written on the board as well. There can be other details such as the director’s name, the production name and so on, but these are not that important.
When the shot is brought to the editor’s table this first frame comes up as the thumbnail of the shot. This enables him to see at a glance which scene is this shot from, which shot it is as well as which take it is, without even opening the clip. This helps an editor find shots much faster than if they had to open up each shot and watch it to know which scene and take it.
2.2. 1 Using Reports
Another tool that helps the editor find the right shots is a Report that the assistant director prepares. It is a list of all the scenes, shots and takes. It will also have comments showing which was an okay take, comments that the director might have had and so on. The assistant editor usually looks for the okay shots from this report, finds those shots using the details on the clapboard and assembles the scene. Find a shot from all the shots in the folder.
These are the two main purposes of using the clapboard on a film set, to help synchronise separately recorded audio and video, and to help an editor find a shot quickly.
3. Can You Shoot a Film Without a Clapboard?
Now that you know why to use a clapboard, let us look at situations where using a clapboard is not necessary.
Some of the situations where you do not need a clapboard are the following
- the film is shot in one continuous take, so there is no point in having a scene and shot number
- there are only a handful of shots, as you can easily manage the edit without detailed reports
- the film is going to be dubbed, and hence does not need good audio from on set
- there are no dialogues.
- when you are making a low-budget film and don’t have the time or money to spend on marking shots with a clapboard
- and extreme close-up of something, where it is not practical to have a clapboard in the frame
While it is possible to make a film without a clapboard, it can lead to errors in post-production and make the editing process more difficult. Say for example you know you are going to dub a movie and not going to use the sound you capture on set. Even then you need sounds from the set for the actors to dub to. Having a clapboard is not necessary but it can save time during post-production and prevent errors from occurring.
4. Buy or DIY?
No, you don’t. In the early days of making movies a clapboard was just a slate with the details written on it with chalk and a stick used for the sound. Now that you know the two reasons behind using a clapboard you can use whatever technique you want to get those results. For most of my films, I just used a cardboard my cousin had made for me as a clapboard for the written details and a clap to sync sound if we were recording sound that is.
5. Are There Any Modern Clapboard Alternatives?
Nowadays there are more advanced tools that help you completely do away with a clapboard and save you time by doing a lot of the work for you. Let’s look at two such options.
5.1 Timecode
There are audio recorders and cameras that can create something called a timecode. Just like how you match two watches to the exact second, the devices can sync the timecode. This timecode will be embedded inside the audio and video files. Most editing software can then sync audio and video files based on that embedded timecode.
5.2 Syncing by Audio
More modern tools, such as DaVinci Resolve, can even synchronise audio and video by itself. It doesn’t even need a timecode. It analyses the audio tracks and then by itself synchronises the tracks. Do note that it doesn’t always work. Some years later it might get perfect at it. But it is there. Advancements are happening.
6. Conclusion
In conclusion, a clapboard serves two main purposes on a film set: to assist in synchronising separately recorded audio and video, and to help an editor find a shot quickly.
From its humble beginnings as a simple chalkboard with a hinged clapper to today’s digital slate and more advanced tools like timecode that can do much of the work, a clapboard is still a valuable tool that can save time during post-production and prevent errors. While it is not necessary in all situations, using a clapboard can make the editing process easier and more efficient.